SOP: Step-to-step upgrade AutoCount POS
- Check Server
i. At task bar > show hidden icons > check the Account Server Service status is running.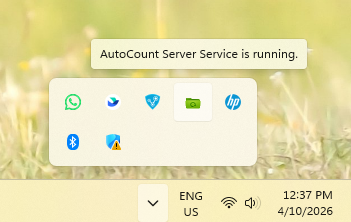
ii. Open your AutoCount POS Backend application, check all the server which name with local.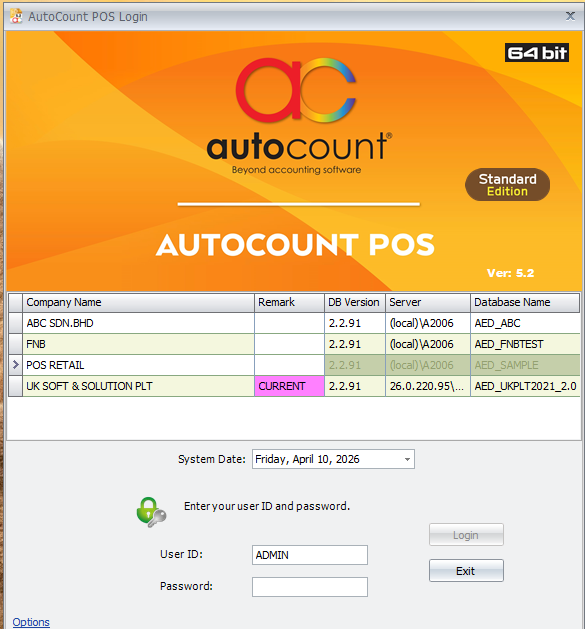
- Check Plugin
i. Log into application, Tools > Plug-in Manager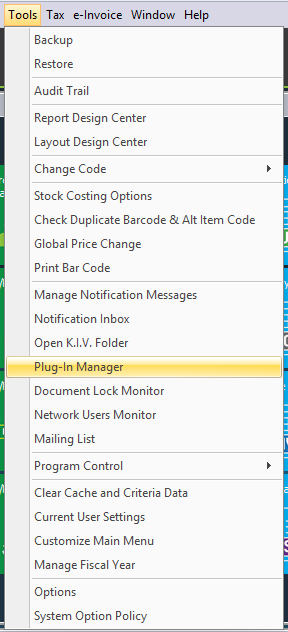
ii. You can check all the installed plug-in at here.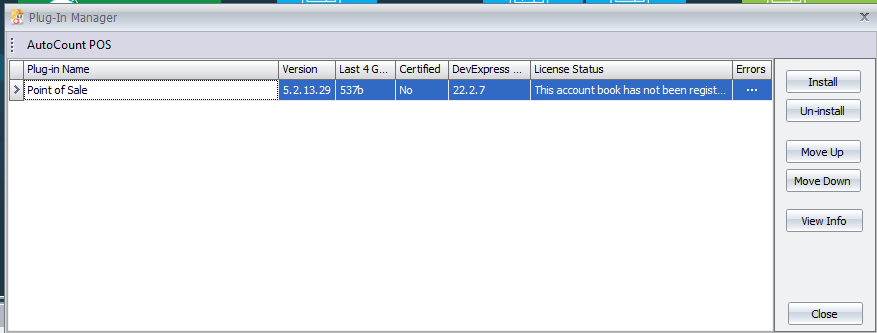
- Check Report
i. Tools > Report Design Center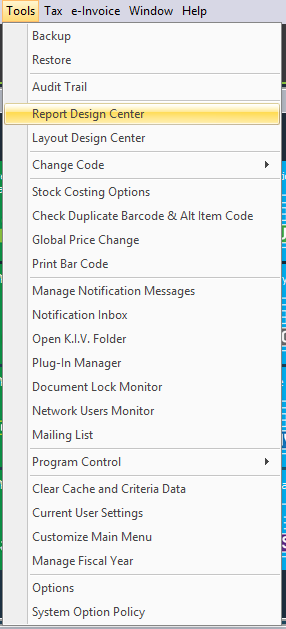
ii. At all report, check all report template which type is User.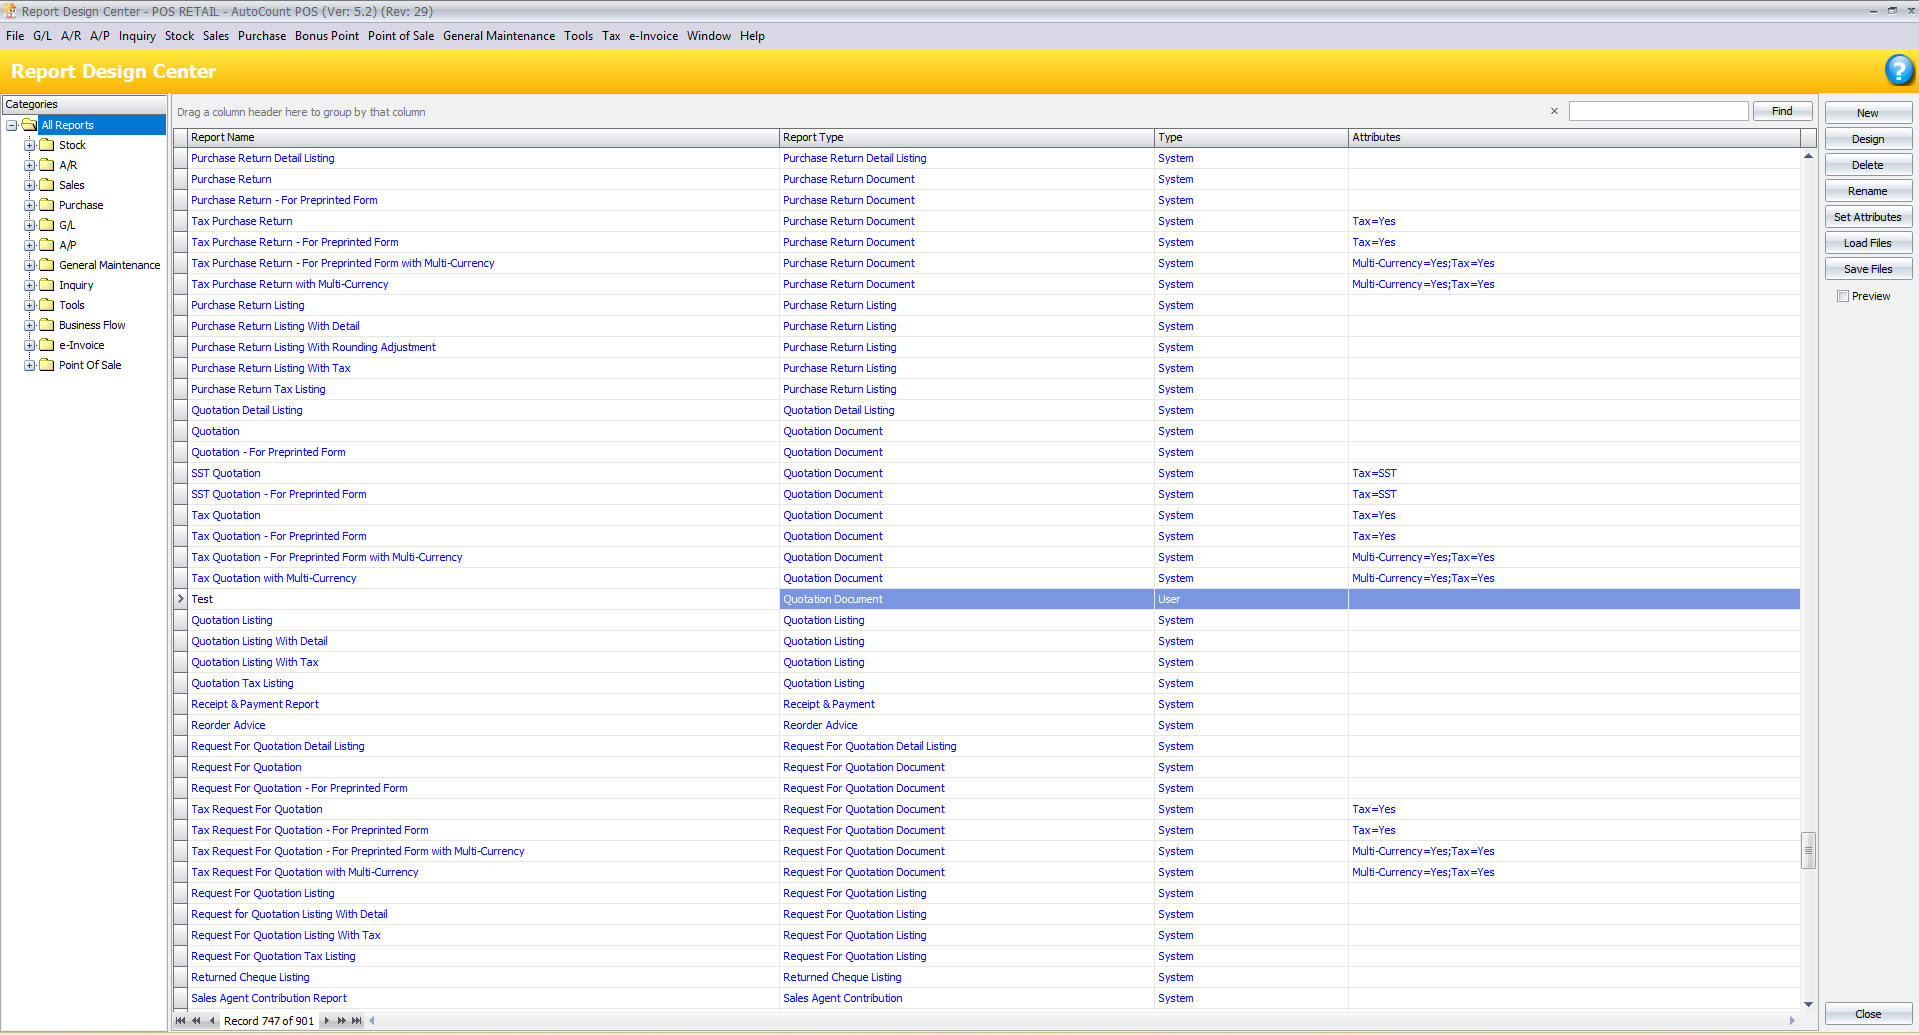
- Check UDF, Script and Formula
i. Open your AutoCount POS Management Studio log into the studio which same database name and server.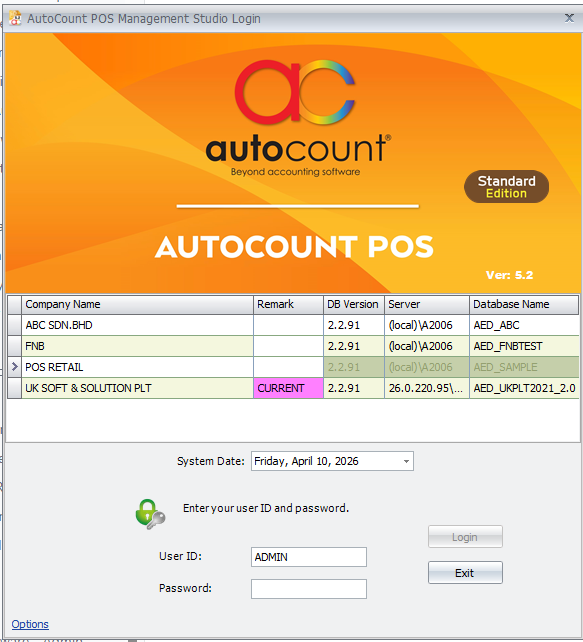
ii. Tools > Import User Defined Field, Scripting and Formula.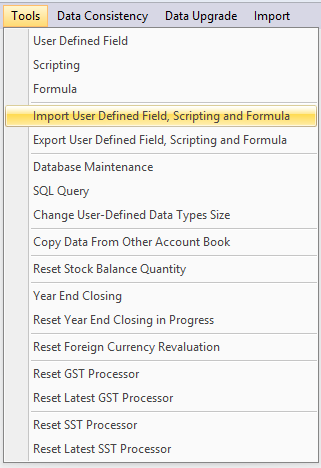
iii. you can Check all the UDF, Scripting and Formula at here.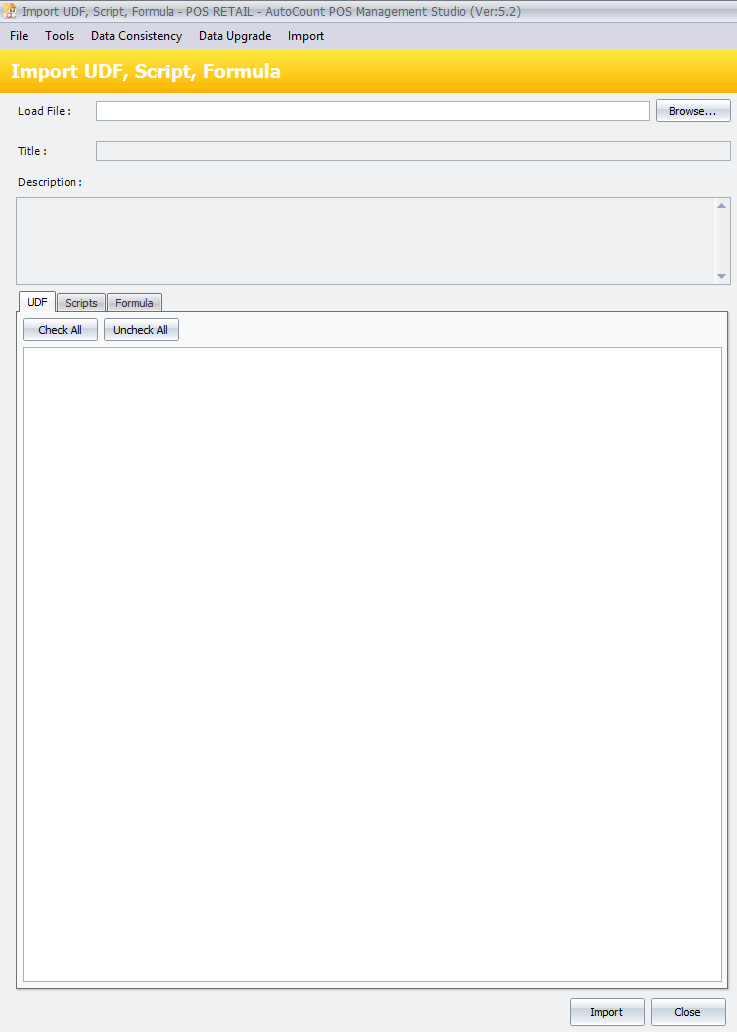
- Download Server and Application.
i. Use link below to download Microsoft SQL Server 2019 Express
https://www.microsoft.com/en-us/download/details.aspx?id=101064
ii. download new version AutoCount Accounting application.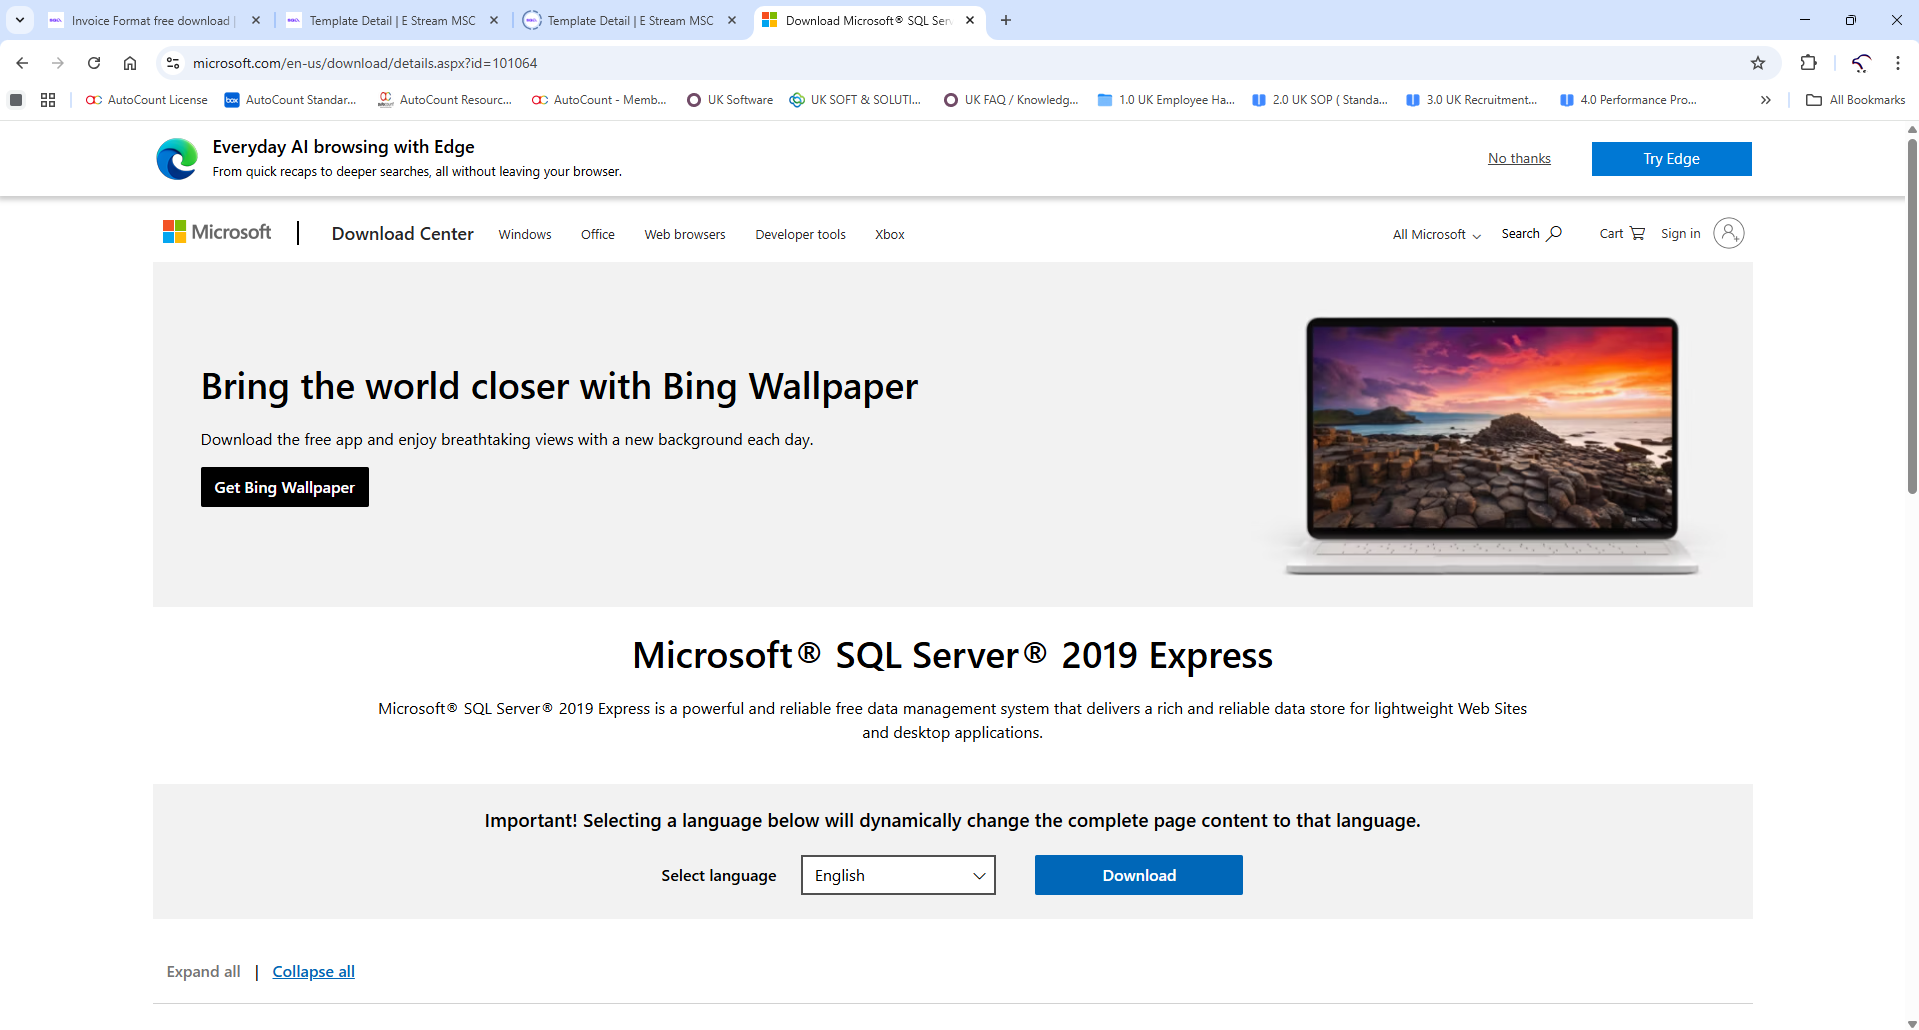
- Install Microsoft SQL Server and AutoCount POS
Install Microsoft SQL Server and AutoCount POS application in your PC. - Check Server Service
i. right click taskbar > task manager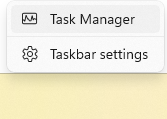
ii. Click Service icon > click see more(the three points icon) > Open Service
If you're using full screen task manager window, the Open Service button will show at top-right corner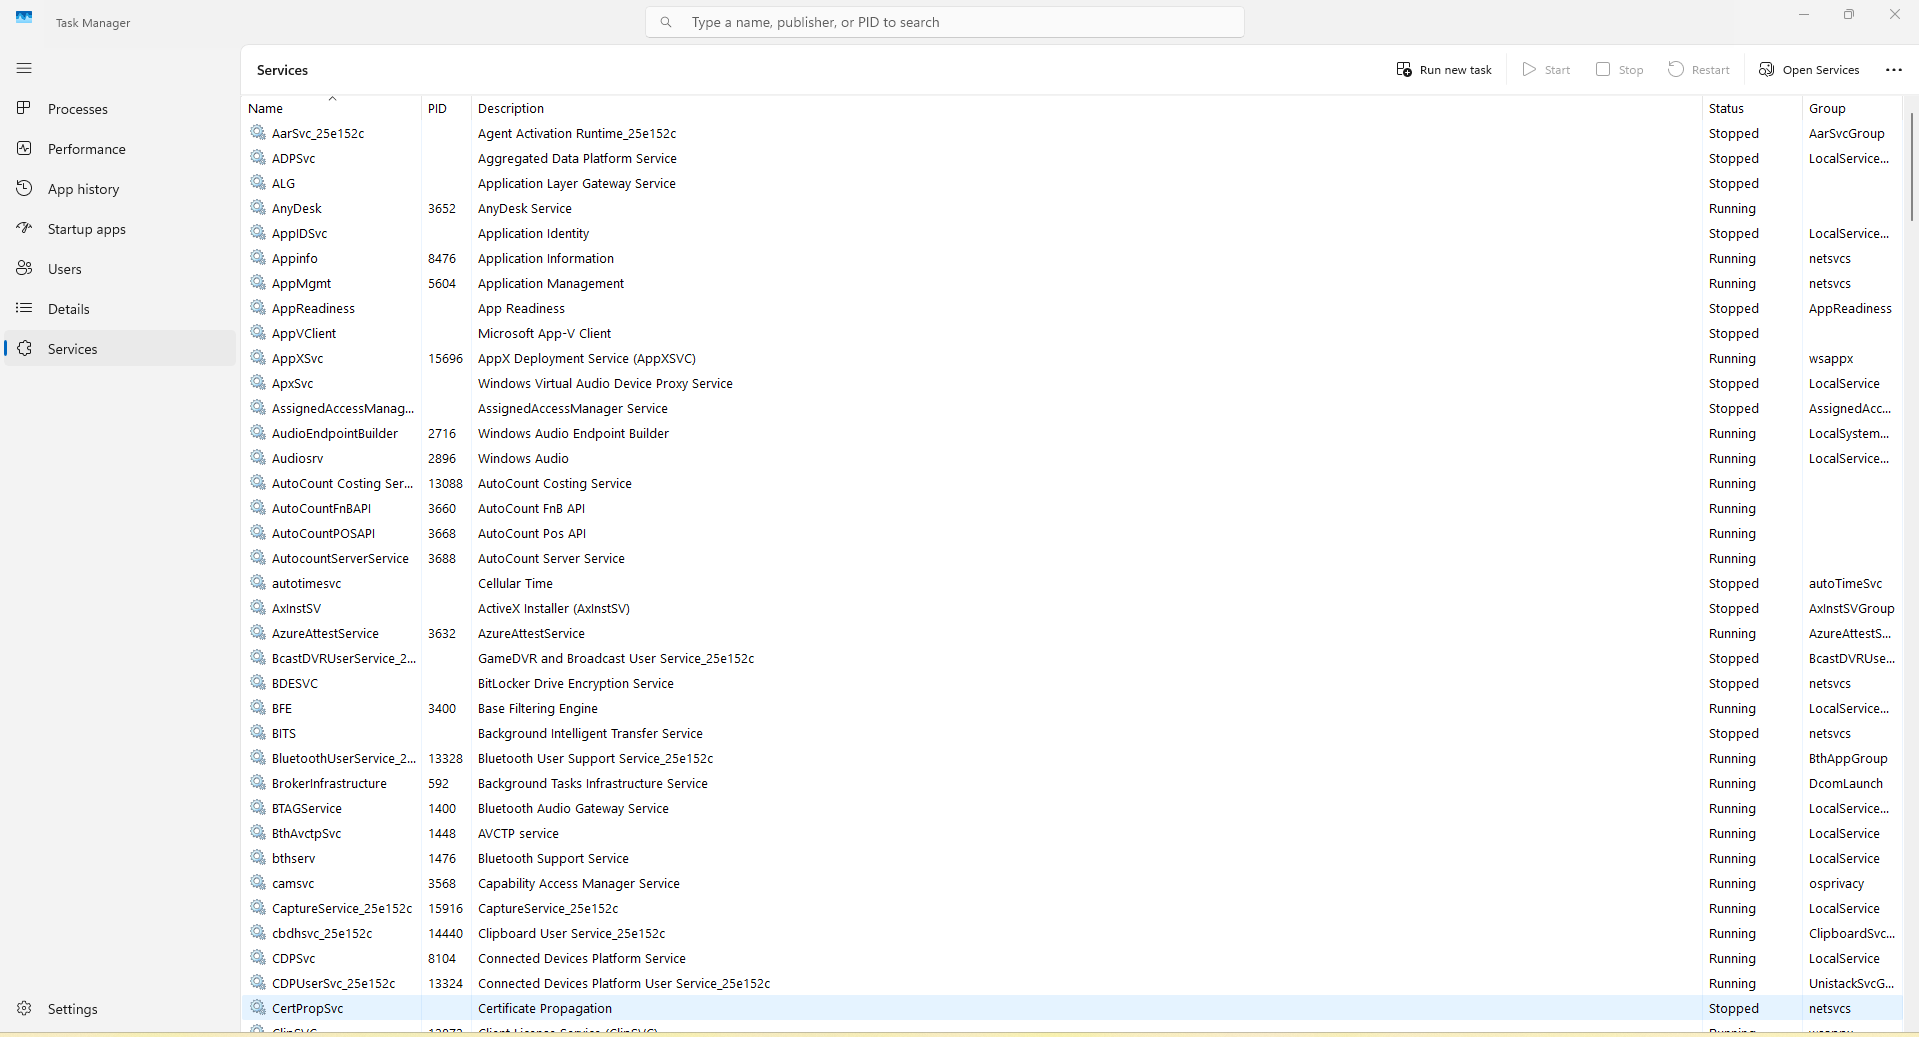
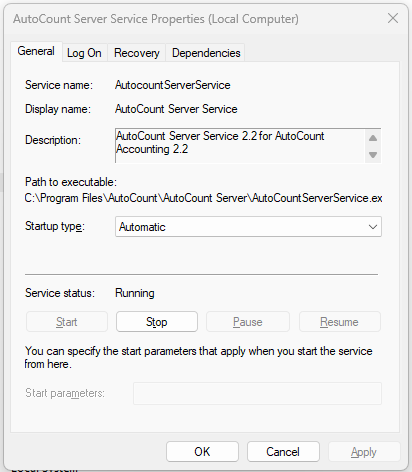
iii. Find AutoCount Server Service, right click then choose Properties.
iv. Check the startup type is set as automatic